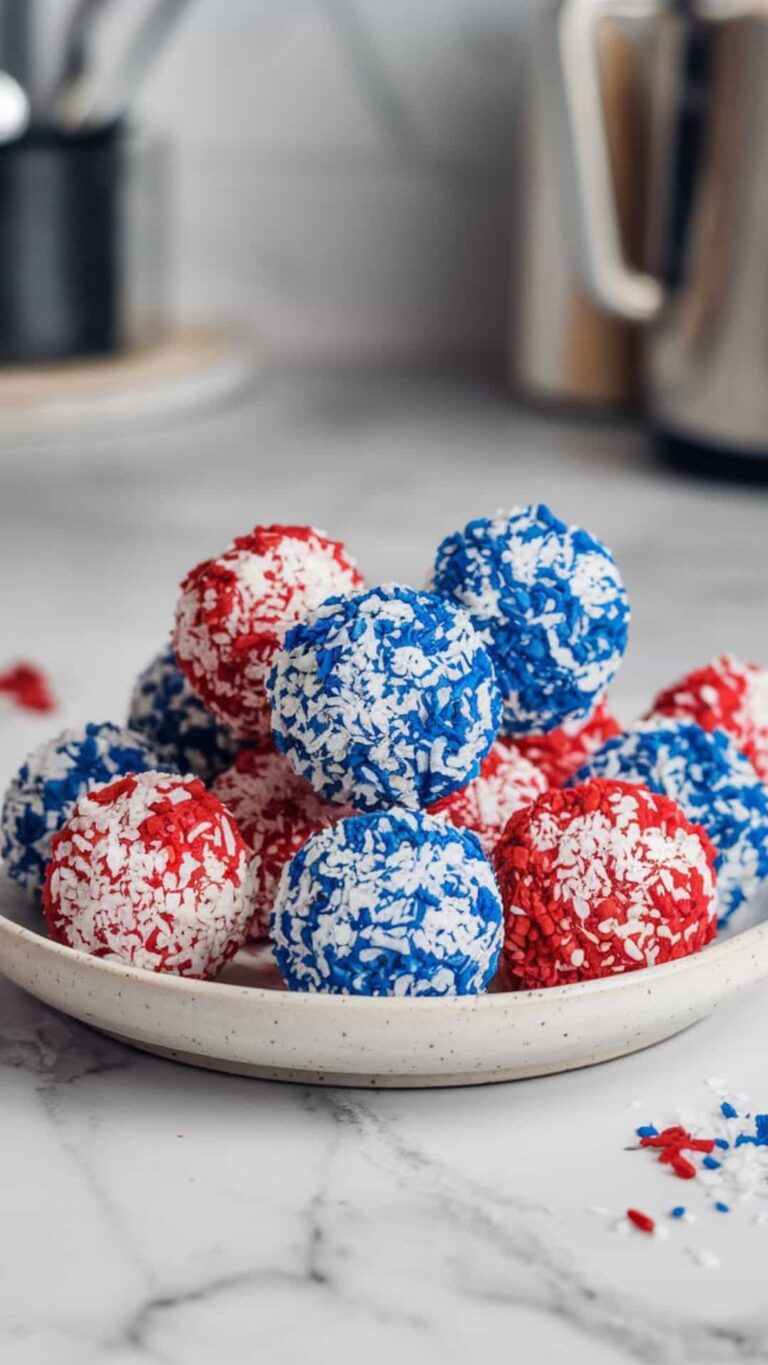
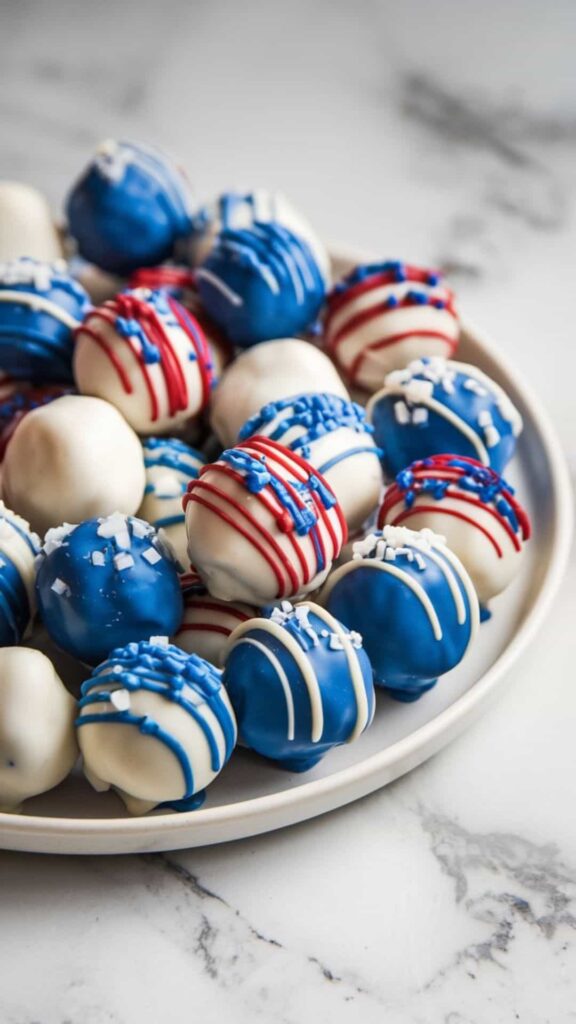
No Bake 4th of July Chocolate-Covered Protein Balls Without Peanut Butter
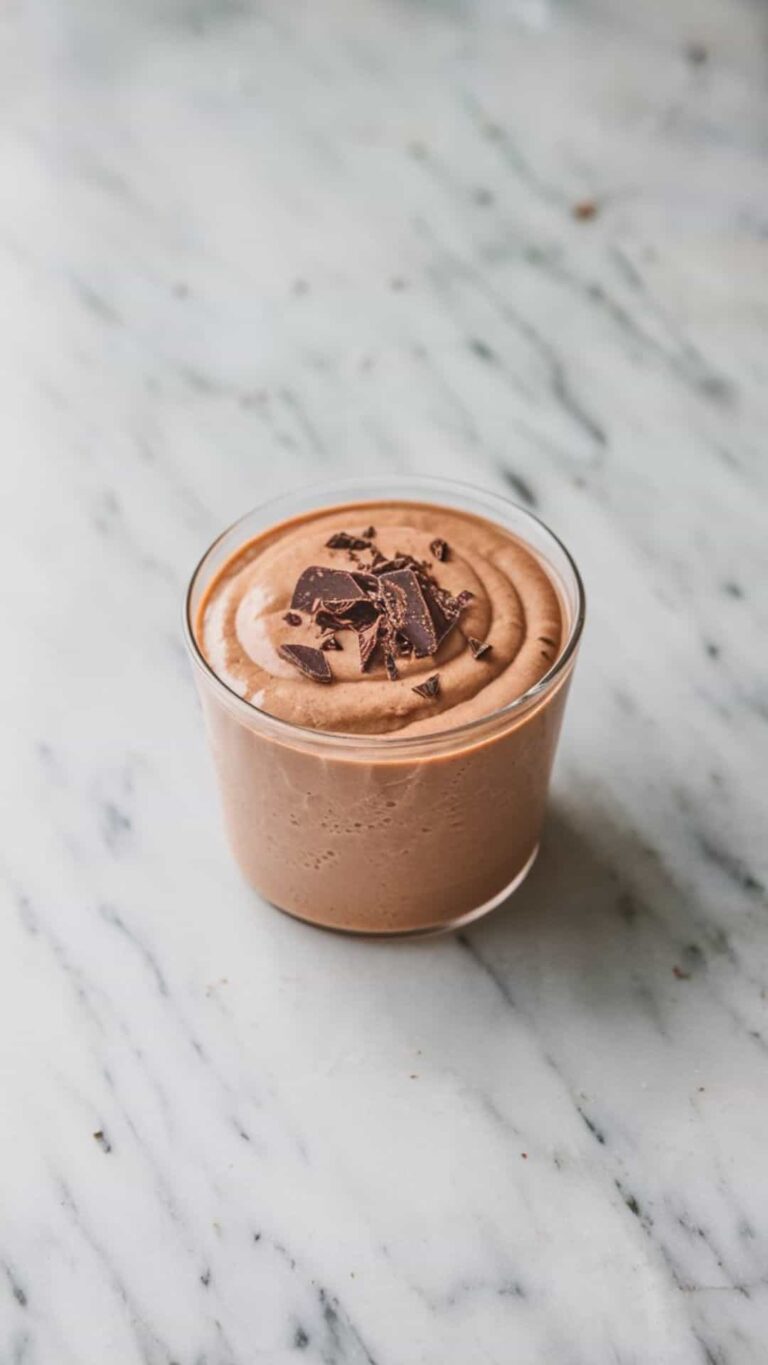
These red, white, and blue chocolate chickpea protein balls are the ultimate 4th of July treat! They’re packed with protein, naturally sweetened, and coated in red, blue, and white chocolate for a festive finish. No coconut needed—just smooth, rich chocolate that hardens into the perfect shell.
I love this version because it makes the protein balls feel even more like dessert while keeping them high in protein and fiber. The chickpeas blend seamlessly into the mixture, giving a creamy texture without altering the taste. The almond butter and cocoa powder create a deep chocolate flavor, while the dyed chocolate coating adds a fun and festive touch.
These are great for summer parties, backyard BBQs, or just as a colorful, protein-packed snack. Plus, since they store well in the fridge or freezer, you can make them ahead of time and have them ready whenever you need a quick treat.
Tips for Making the Best 4th of July Protein Balls
- Drain the chickpeas well – Extra moisture makes the mixture too soft. If needed, keep a little chickpea water on hand, but only add a small amount if blending is difficult.
- Use high-quality chocolate for coating – White chocolate melts smoothly and takes on food dye well, so use a good-quality brand to avoid clumps.
- Chill the protein balls before coating – Cold protein balls help the chocolate coating set faster and create a nice, even shell.
- Work quickly when dipping in melted chocolate – The melted chocolate will harden as it cools, so dip and coat the protein balls as soon as the chocolate is ready.
Ingredients
- Chickpeas – 1 can (about 400g / 14oz)
- Cocoa powder – 2 tbsp
- Almond butter – ½ cup (about 2-3 tbsp)
- Oats – 3 tbsp (instant oats work fine)
- Chocolate chips – ¼ cup (about 45g / 1.6oz)
- Vanilla extract – 1 tsp
- Maple syrup – ¼ cup (about 60ml / 2fl oz)
- White chocolate – 200g / 7oz (for coating)
- Red food dye – a few drops
- Blue food dye – a few drops
Alternative Ingredients
- Almond butter substitute: Peanut butter works great for a stronger nutty flavor, while cashew butter provides a milder, creamier taste.
- Cocoa powder: For a deeper chocolate taste, use dark cocoa powder or raw cacao powder.
- Oats: Ground flaxseeds or almond flour can replace oats for a grain-free version.
- Chocolate chips: Use cacao nibs for a less sweet, more intense chocolate flavor. Chopped dark chocolate also works well.
- Maple syrup: Honey or agave syrup can be used instead.
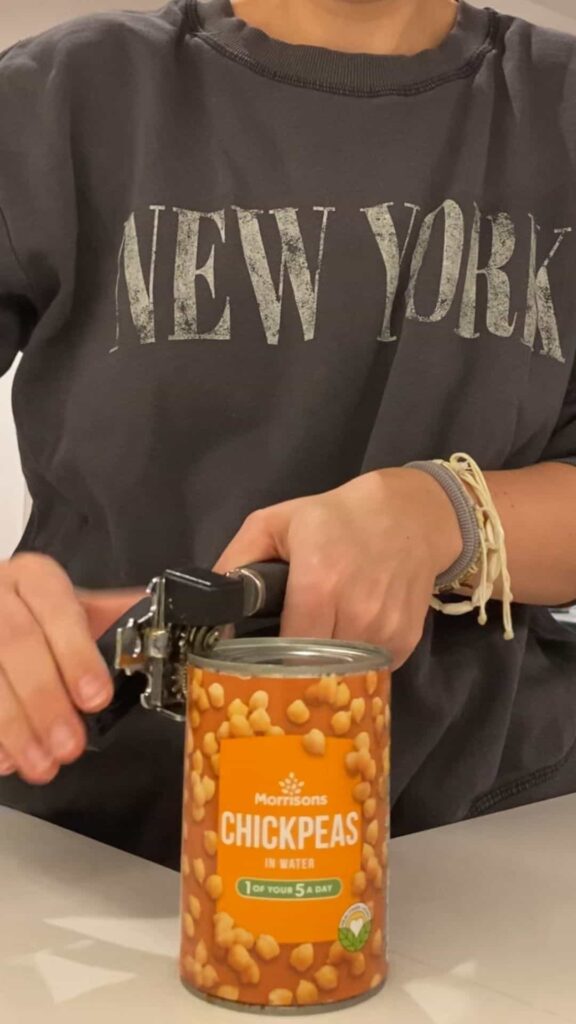
Step 1: Drain the Chickpeas
Open the can of chickpeas and drain them well. Set aside a little of the chickpea water in case it’s needed for blending. If the chickpeas are too wet, the mixture may turn out too soft.
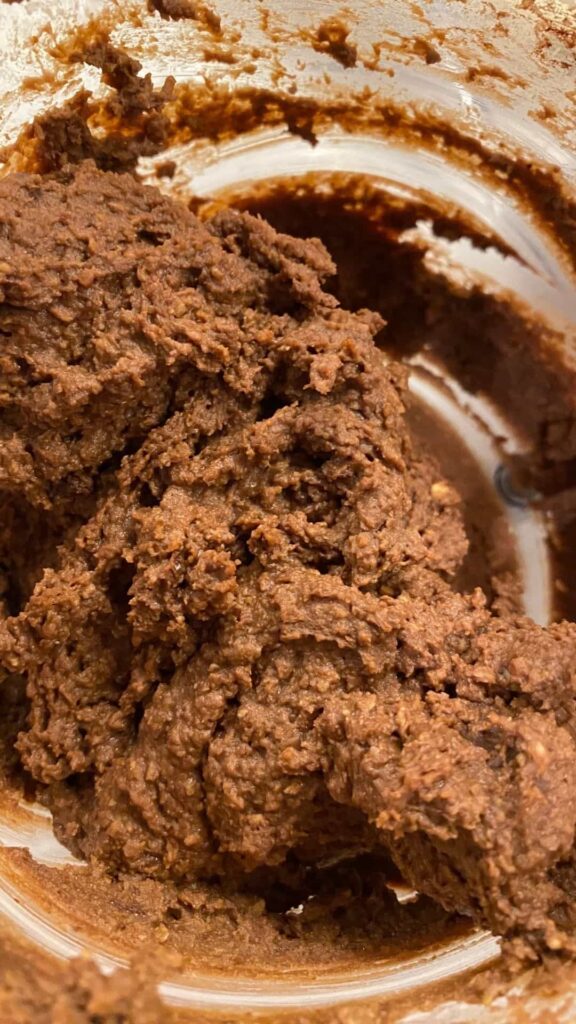
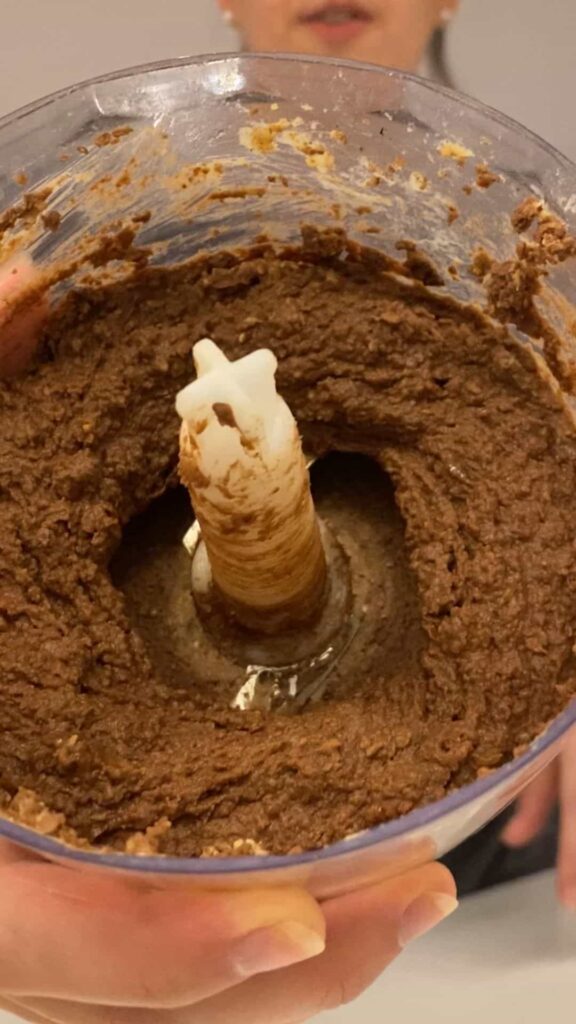
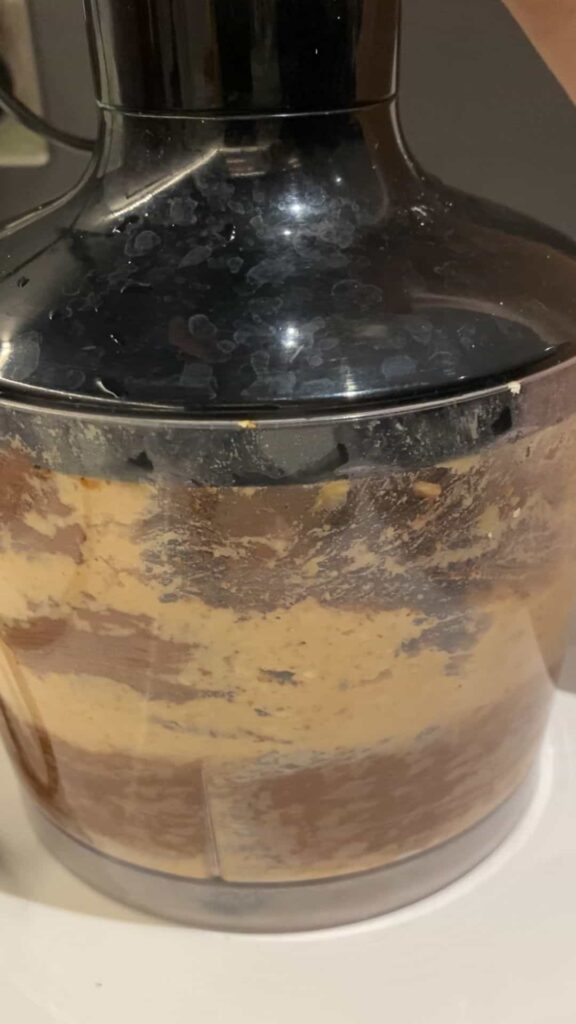
Step 2: Blend the Ingredients
Add the drained chickpeas, cocoa powder, almond butter, oats, vanilla extract, maple syrup, and chocolate chips to a blender or food processor. Blend until the mixture is smooth and well combined. If blending becomes difficult, add a tiny splash of the reserved chickpea water to help it along—but don’t add too much.

Step 3: Form the Protein Balls
Transfer the blended mixture into a bowl. Take small portions and roll them into bite-sized balls with your hands. If the mixture feels too sticky, wet your hands slightly to make rolling easier.
Step 4: Chill the Protein Balls
Place the protein balls on a plate lined with parchment paper and put them in the freezer for 30 minutes. This helps them firm up and makes the chocolate coating process easier.
Step 5: Melt the White Chocolate
Break the white chocolate into small pieces and melt it in a microwave-safe bowl. Microwave in 20-second intervals, stirring in between until smooth. Be careful not to overheat, as white chocolate can burn easily.
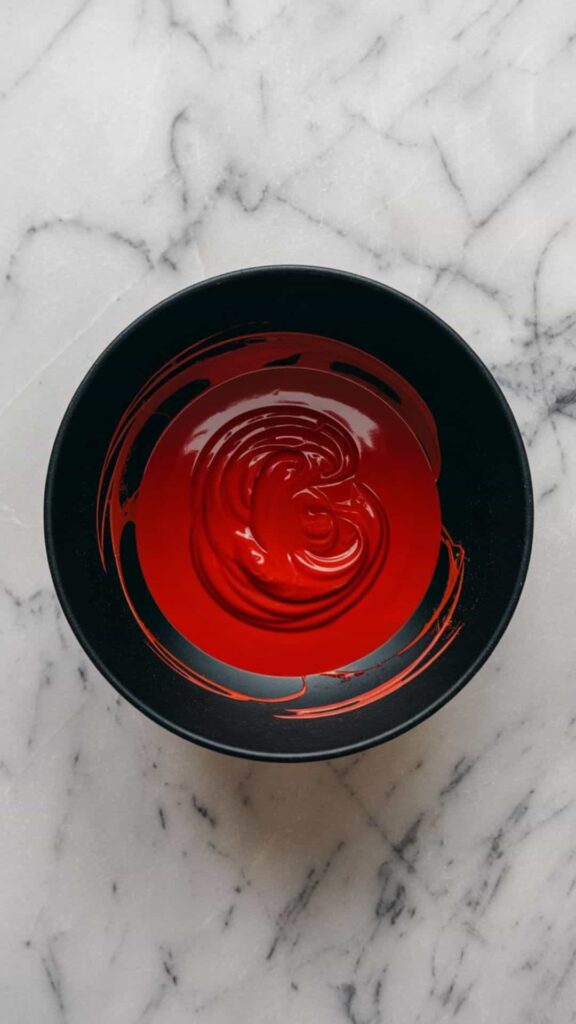
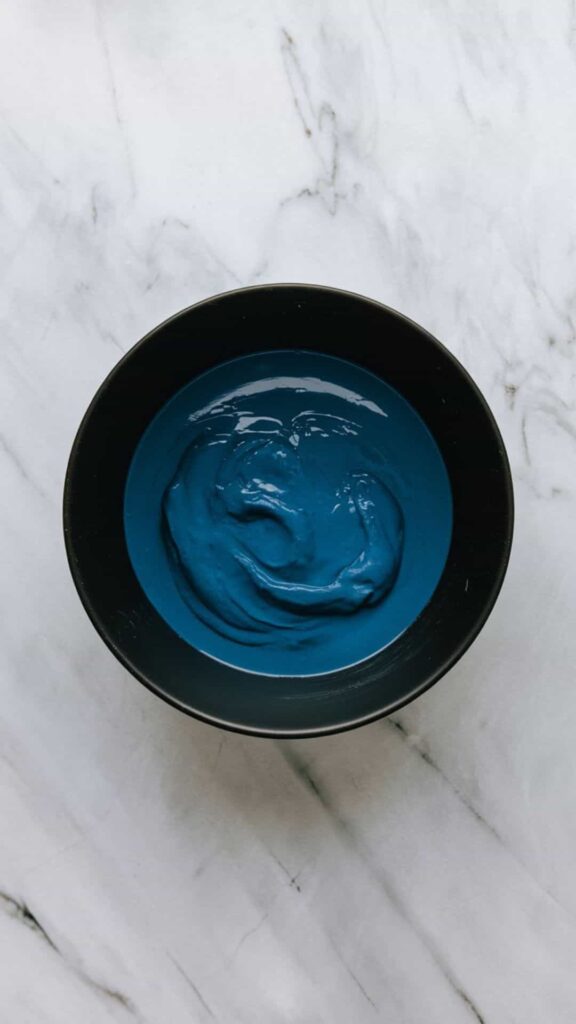
Step 6: Dye the Chocolate
Once the chocolate is fully melted, divide it into three separate bowls:
- Leave one bowl plain white.
- Add a few drops of red food dye to the second bowl and stir until evenly mixed.
- Add a few drops of blue food dye to the third bowl and stir well.
If the chocolate thickens too much, microwave each bowl for another 5-10 seconds to keep it smooth and easy to work with.
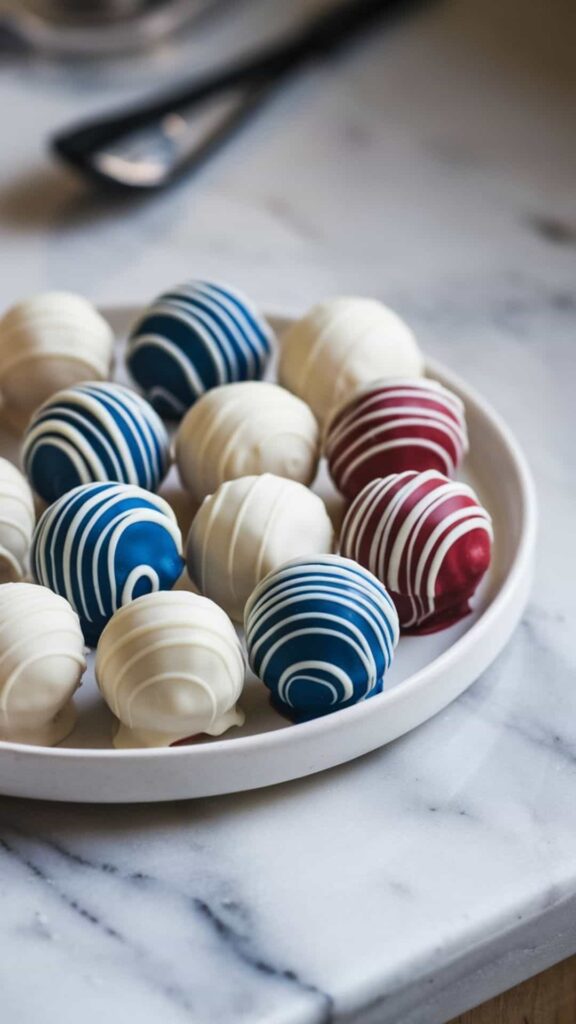
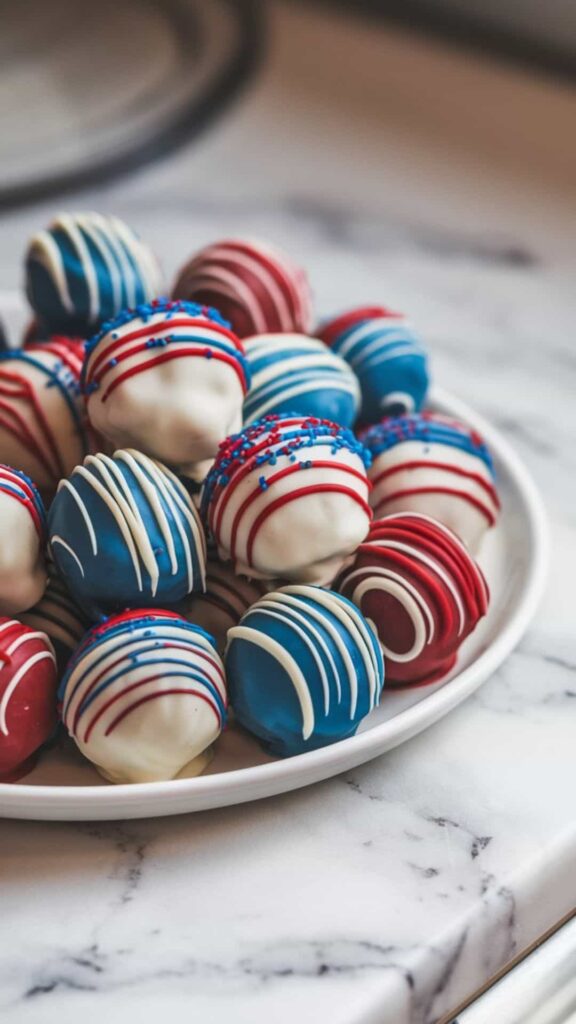
Step 7: Coat the Protein Balls
- Using a fork or toothpick, dip each protein ball into the melted chocolate, ensuring full coverage.
- Roll some in red chocolate, some in blue, and leave some white for the perfect 4th of July theme.
- Place the coated protein balls back onto the parchment-lined plate.
Step 8: Let the Chocolate Set
Allow the protein balls to sit at room temperature for a few minutes until the chocolate starts to harden. For a faster setting, place them in the fridge for 15 minutes or the freezer for 10 minutes.
Step 9: Serve and Enjoy
These festive red, white, and blue chocolate-coated protein balls are ready to serve! They’re perfect for 4th of July parties, BBQs, or as a fun, protein-packed snack.
How to Store and Serve
- Freezer storage: Keep them in the freezer for up to 1 month. When ready to eat, let them sit at room temperature for 10 minutes or pop them in the microwave for 15 seconds to soften.
- Fridge storage: If eating them within 48 hours, store them in the fridge.
Enjoy your 4th of July chocolate chickpea protein balls, and celebrate with a delicious, festive, and protein-packed treat!